()
This is an easy little hike to a clear-blue freshwater cave and a gorgeous cliffside in the northeast of the island. This is one of the most beautiful places on Guam and is an absolute must-see for people of all levels of fitness.
Quick Stats
Location: Mangilao Region: Northeast Difficulty: Very Easy Time: 5 mins to the caves, 10 mins to the cliffs, allow 30 minutes to 1 hour Length: Currently unknown (probably less than a mile) Elevation Gain: Currently unknown (probably about 160 feet down) Sight: Caves, cliffs, freshwater Cool Stuff: Low cliff jumping (in the cave only – NOT FROM THE CLIFFS), natural pools, rock climbing, scuba diving (WITH GUIDE ONLY), great for swimming
Overview
There are a lot of things to do here on this hike. In the caves there are rock walls to climb, cool fresh waters to swim in, tall places to jump from, and even places for GUIDED cave scuba diving. You SHOULD NOT cliff jump from the cliffs here, although some people have done it. It is very dangerous and has resulted in deaths. There is a better place to cliff jump, from very similar-looking cliffs at Pagat, farther north from here. What To Bring: Flashlights (for the back cave – not mandatory), underwater lights (for the back cave – not mandatory), and a swimsuit.
Directions
From the West Side (Marine Corps Drive): FROM SOUTH OF TAMUNING
❶ Drive north on Marine Corps Drive. Turn right at Route 10A towards the airport. ❷ Stay to the left at the airport fork. You’ll stay on the main road instead of entering the airport (then take the general directions). ❸ At the intersection, go straight (across Route 16) on Alageta Street (you may not see the street sign). ❹ Keep an eye out for Route 26 sign. Turn right onto Route 26, also called Macheche Road. ❺ At the stop sign (the Route 15 intersection), carefully proceed straight (see the intersection photo below).t ❻ For the next steps see “General Directions”.
FROM NORTH OF TAMUNING ❶ Drive south on Marine Corps Drive. ❷ Turn left at Route 26, also called Macheche Road (then take the general directions). ❸ At the stop sign (the Route 15 intersection), carefully proceed straight ❹ For the next steps see “General Directions”.
From the East Side (Via Route 15): FROM THE SOUTHEAST (LOWER MANGILAO, ORDOT, CHALAN PAGO, YONA, TALOFOFO, & INARAJAN): ❶ Drive north on the eastern road that runs lengthwise along the island (Route 4 to Route 10 to Route 15). ❷ After 5 or 10 minutes on Route 15, start looking out for the Route 26 sign, which is usually very hard to see due to tree overgrowth. At the Route 26 sign, turn right. ❸ For the next steps see “General Directions”.
FROM YIGO AND AAFB: ❶ Drive south on Route 15 (AAFB residents, take the back gate and go straight). ❷ Turn left after the blue and yeallow Guam Army National Guard bus stop. If you notice a sign for Route 26, (none were up at the time this was written), this is another indication of where you’ll turn left. If you pass the Mangilao Golf Club, you’ve gone too far. Turn around and look out for the above picture when looking for the turn. ❸ For the next steps see “General Directions”.
General Directions: ❶ This road will start descending a bit and there will be a median strip of trees and brush. ❷ When this road ends, turn left. ❸ This road will descend, twist, and turn. Please drive slowly as the road becomes very narrow. Honk when turning on blind corners to alert a potential oncoming car. ❹ This road ends at the parking lot.
WHEN LEAVING: Be very careful at the main road intersection at the top of the hill (between Route 26 and Route 15). The stop sign is usually completely covered by overgrown brush, which makes this a very dangerous intersection if you’re not paying attention. Be sure to stop at the top of the hill and proceed carefully here.
Parking Park anywhere in the designated parking area.
Trailhead The trailhead is the wide dirt path off the parking area.
Trail Guide At the bottom of the hill, you’ll come to a clearing. Turn left for the cave. Turn right, across the clearing to begin on the cliffs trail.
To the Caves To the left you’ll see steps that go down to the cave.
Walk or climb carefully down the rock-steps into the cave.
Here is the brightly lit part of the cave and the first main freshwater pool.
You can climb up many of the rocks in this cave. The easiest place to climb is on the wall to the left in the photo above. Much harder climbing is on the walls to the right that tilt inward, making them lay-back climbs.
There are many places from which to jump into the water. Please be very careful when jumping. Be sure the bottom is deep enough where you are jumping. You can jump into the water from the center island, the rock to the right (in the above photo), and from the cement platform. Jump at your own risk.
There is another mini cave to the left (while looking at the main pool from the cement landing). There is another small cave that is directly across the cement landing when you enter the main cave (if you are looking at the main pool, it’s back to your right). Once inside this little cave, you can climb up the walls. There is also an underwater cave in here that I have heard one can explore with a scuba diver guide who knows about the cave system. DO NOT attempt going into the tunnel without a cave guide and someone who knows the underwater systems, or you could drown.
To get to the second part of the cave, go back to rock-stairs you descended to enter the cave. When facing the cave, back to the stairs, turn left where there is an opening between the rock.
Walk along the rocks in this opening. Walk around to the back of the rock. Be very careful climbing back here. The rocks are slippery. Make sure you have good footing and good handholds to avoid slipping.
You’ll end up on few flat spots filled in with cement at the back of the cave. These are spots you can jump from. Be very careful not to hit your head on the top of the cave when jumping from here. As always, jump at your own risk.
Once you are in the water, facing were you just jumped from, there is a tunnel through the rock that ends on the other side (back to the main part of the cave). The tunnel is halfway in the water so you can swim through but you don’t have to be under the water to cross through. It is very dark in the beginning, but you’ll see light come through the other side once you’re halfway through. The picture below is of two people exiting the tunnel into the main pool.
There is also an underwater cave in the back part of this cave, but once again, DO NOT attempt to explore it without a skilled professional or you could drown.
To leave the cave, walk back up the rock-stairs from where you came.
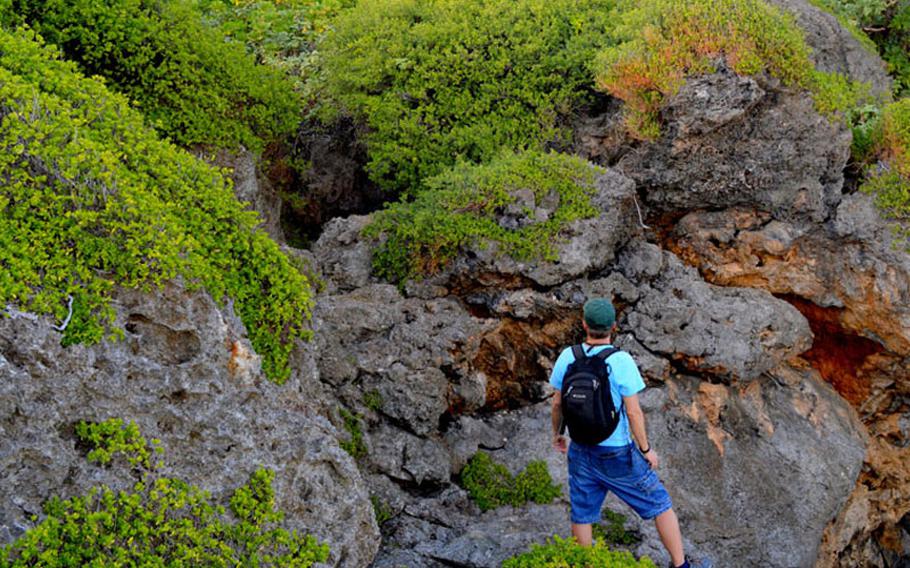
To the Cliffs From the meadow, cross to the right to start your walk on the dirt trail. To avoid getting lost just remember that you will be turning LEFT at each new pathway.
When the first pathway dead ends into the next one, turn left.
Turn left at the next fork.
Then turn left again at the next fork. You will come out onto a clearing on top of the cliffs.
I call this the “whale tail” because the rocks are almost in the shape of a whale tail and water shoots out where the whale’s blow hole would be.
To return come back the way you came.